Cabinet Decals
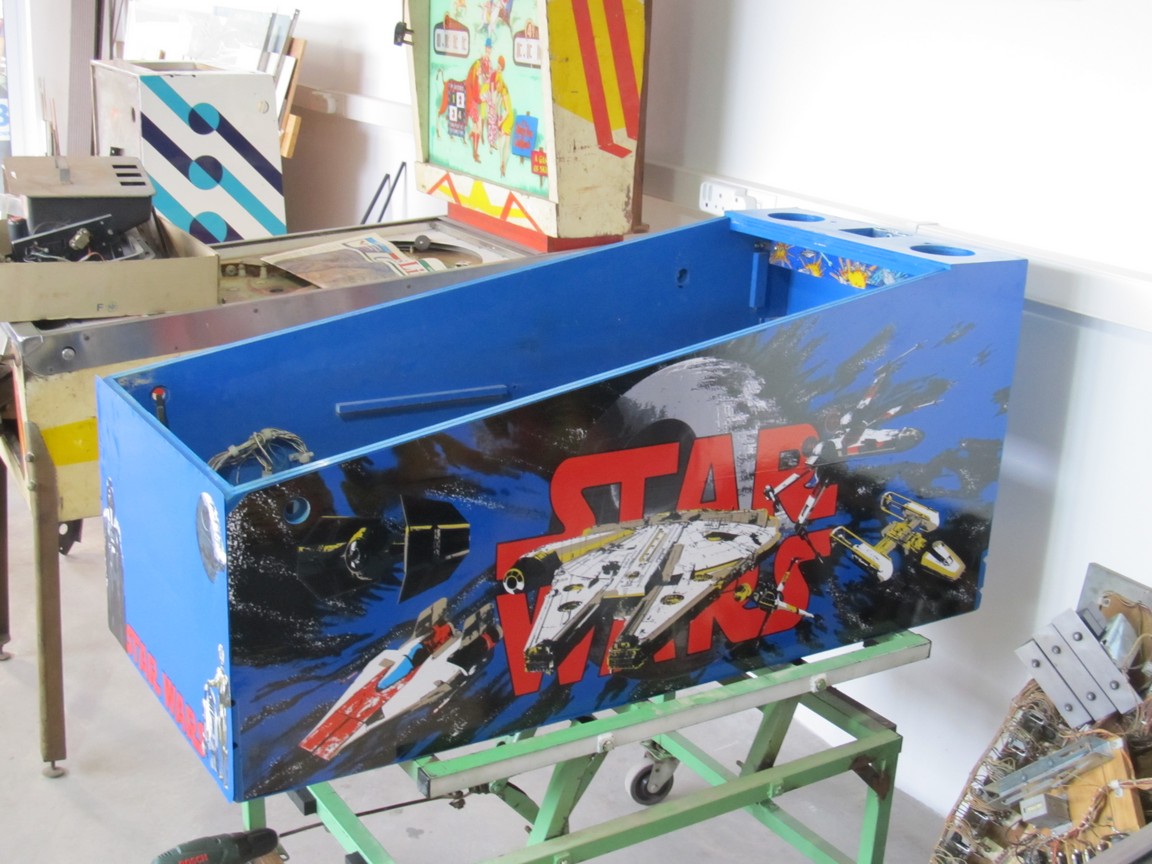
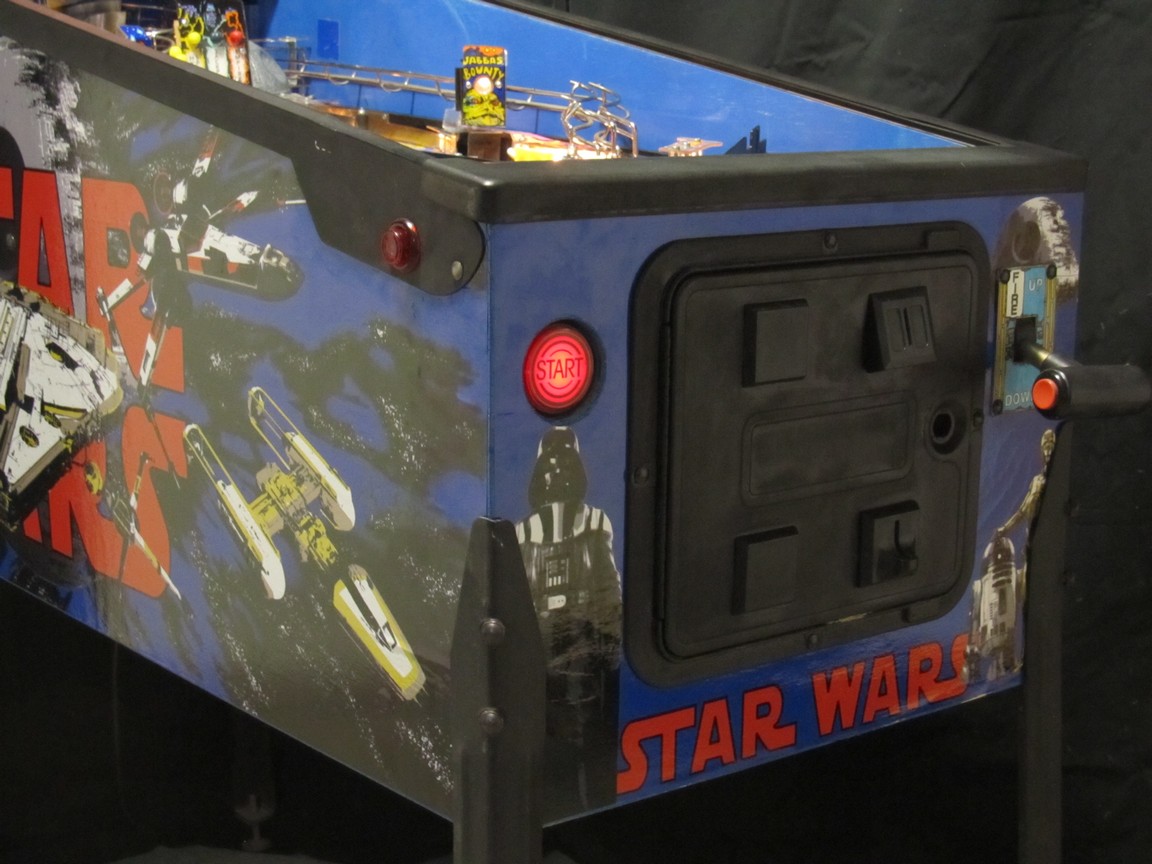
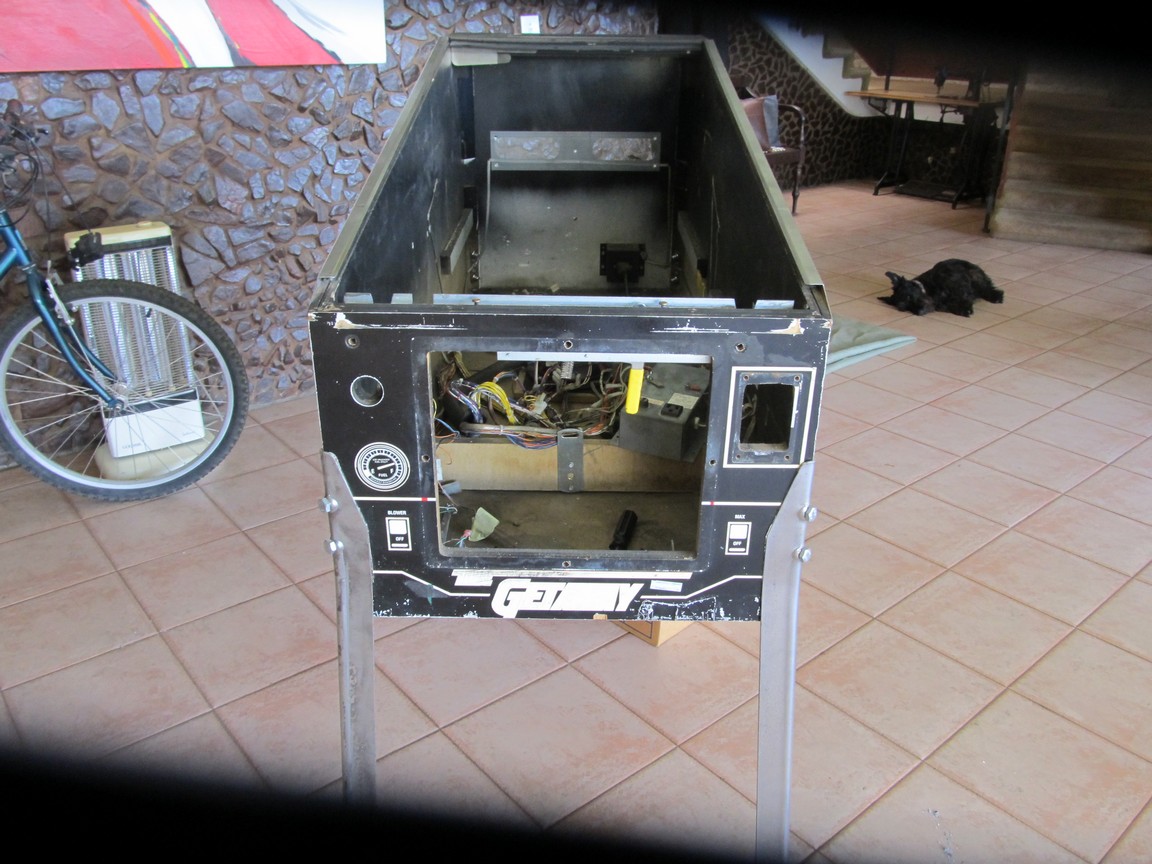
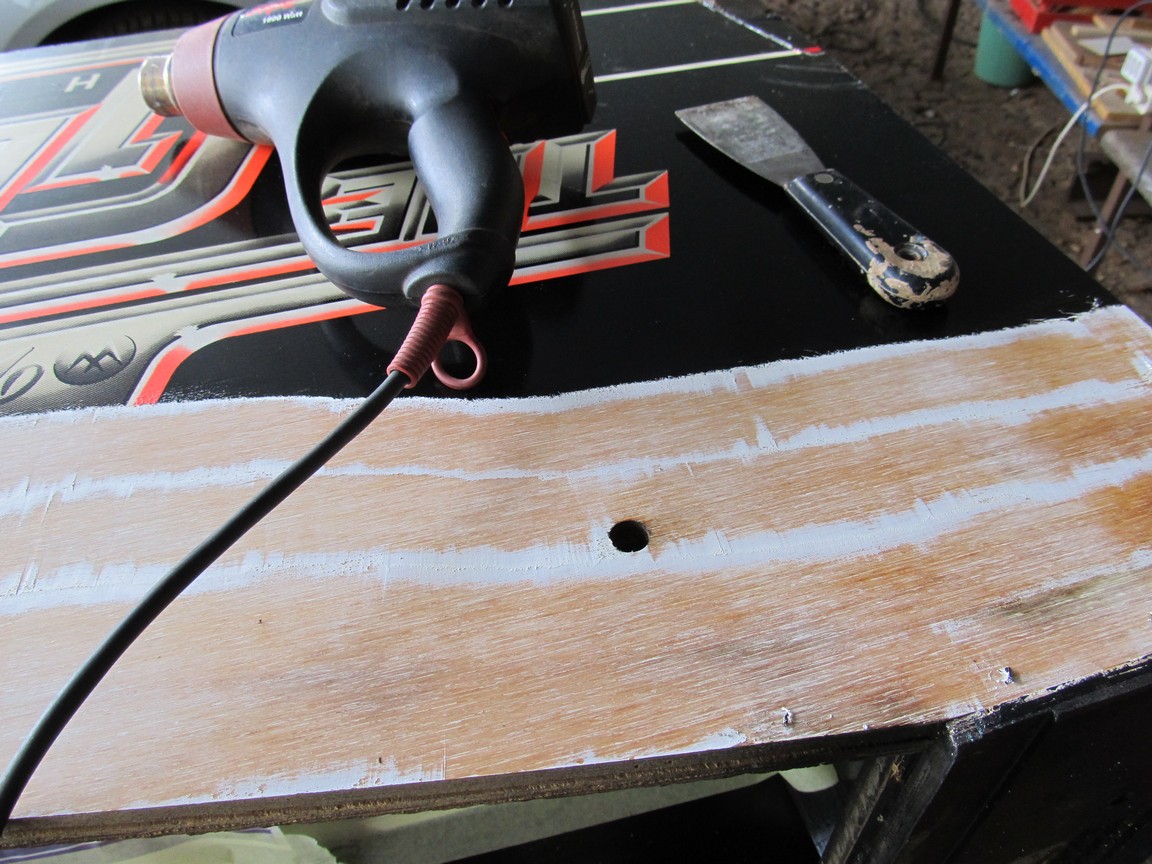

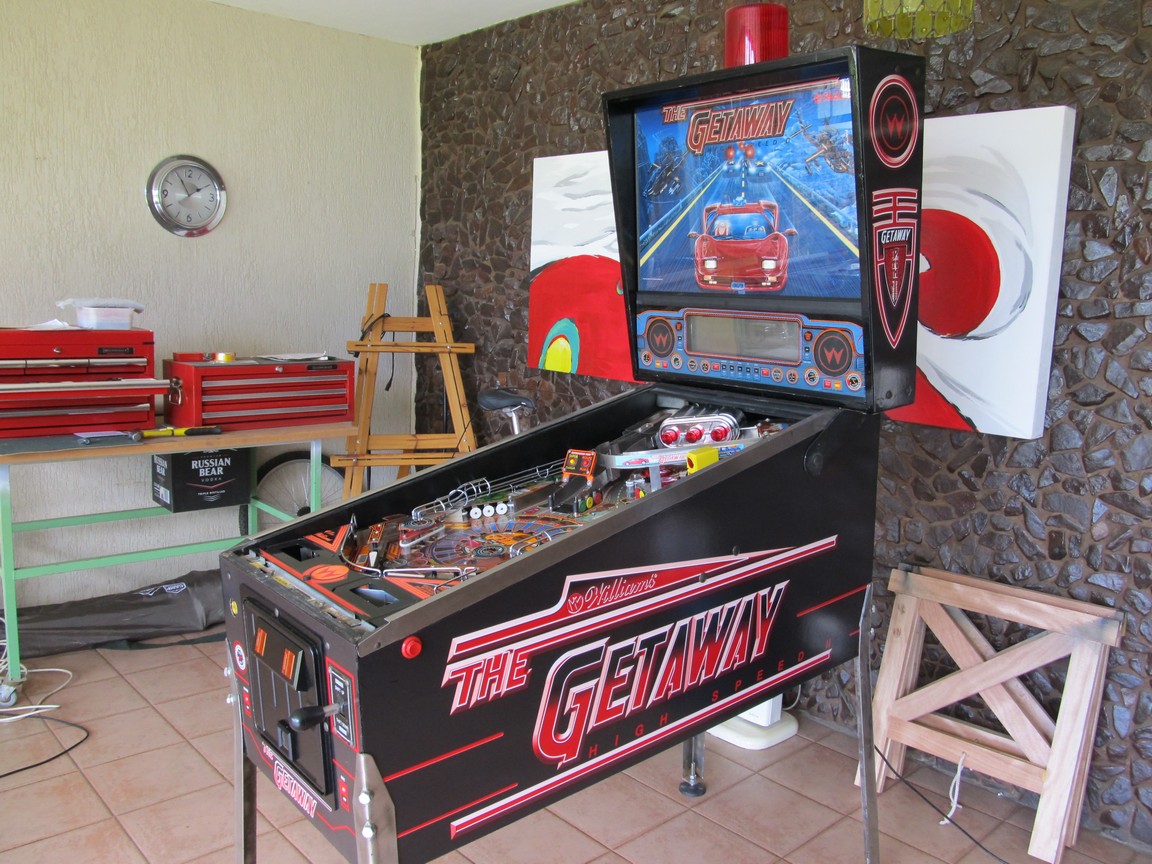
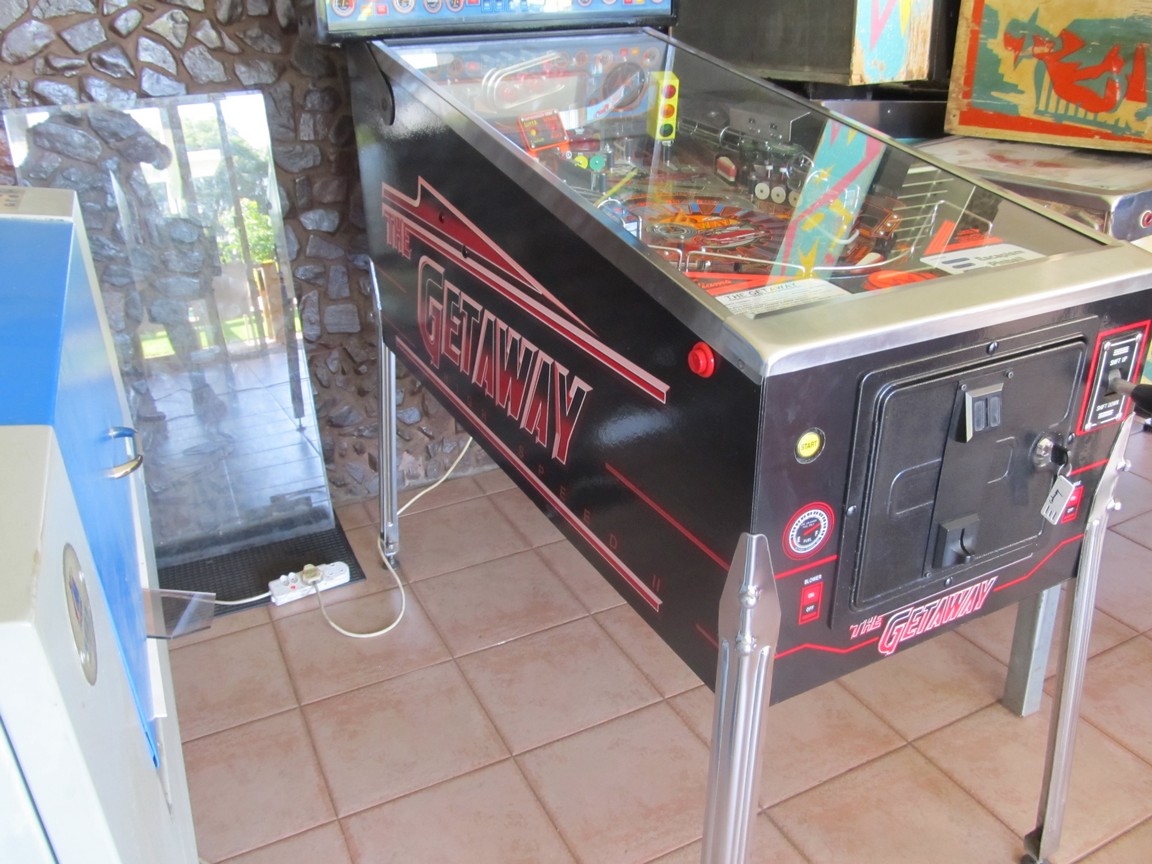
To apply new cabinet decals the cabinet has to be stripped out first. Because the old paint has to be removed from the cabinet and the back box all the innards have to be removed to protect them from the dust and vibration. The cabinet is prepared using body filler and primer for a smooth surface and then painted with a 2K base coat so that the decals have a shiny, smooth surface to adhere to. Decals are than applied and the cabinet is rebuilt. Our new decals come with a protective clear film making them scratch resistant and easy to maintain. The decals are printed from high resolution sources with UV stabilised inks on a thick vinyl designed for outdoor signage.
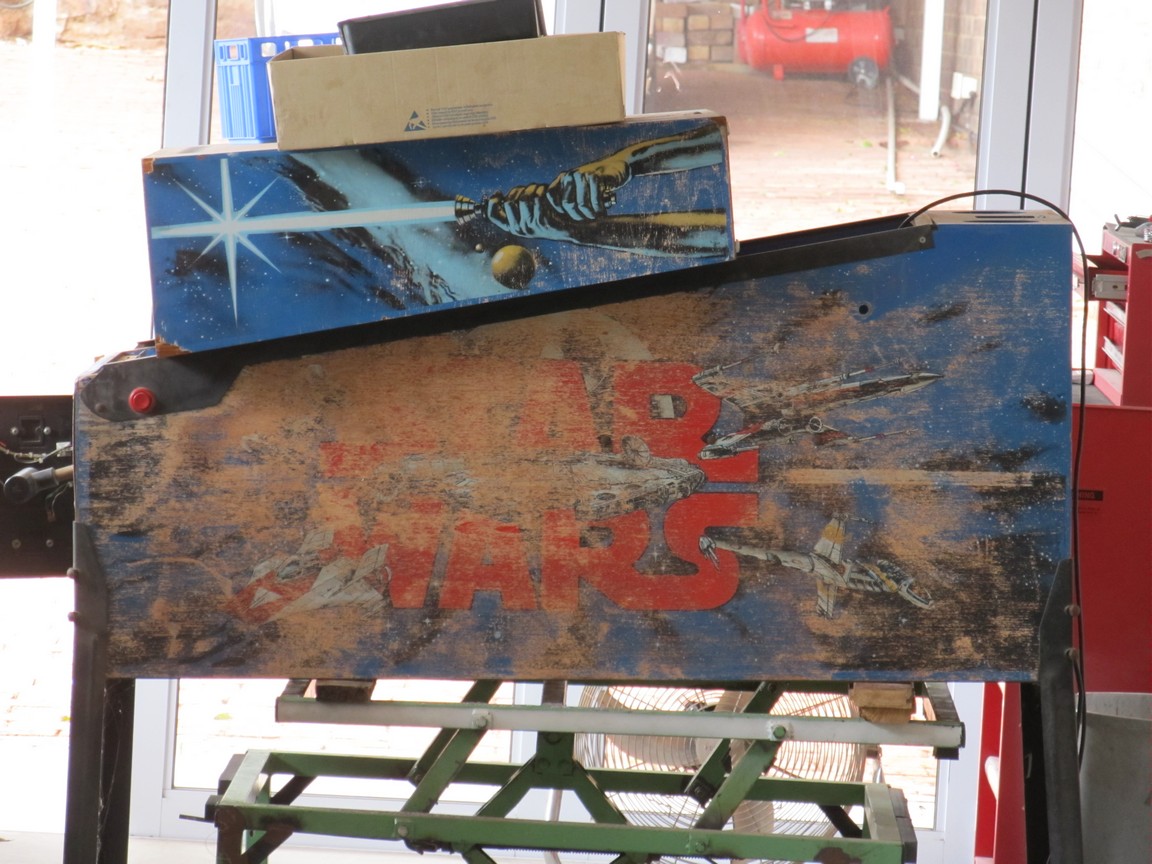
Cabinet respray
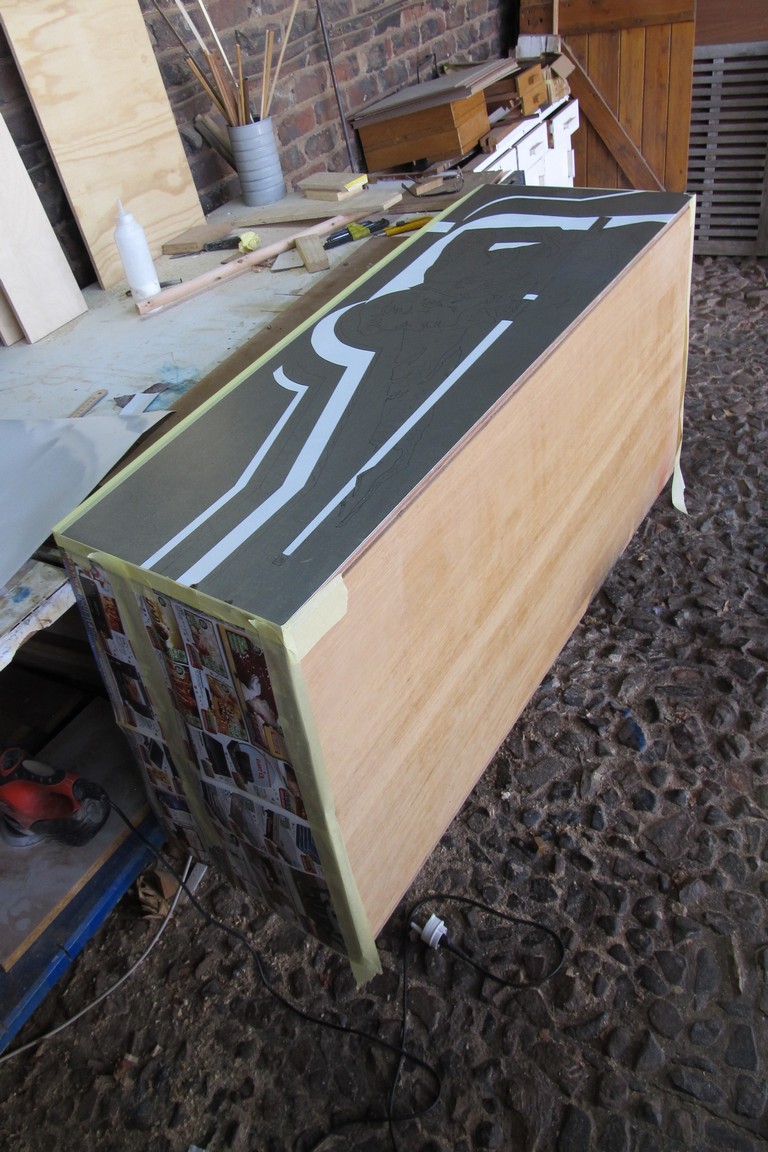
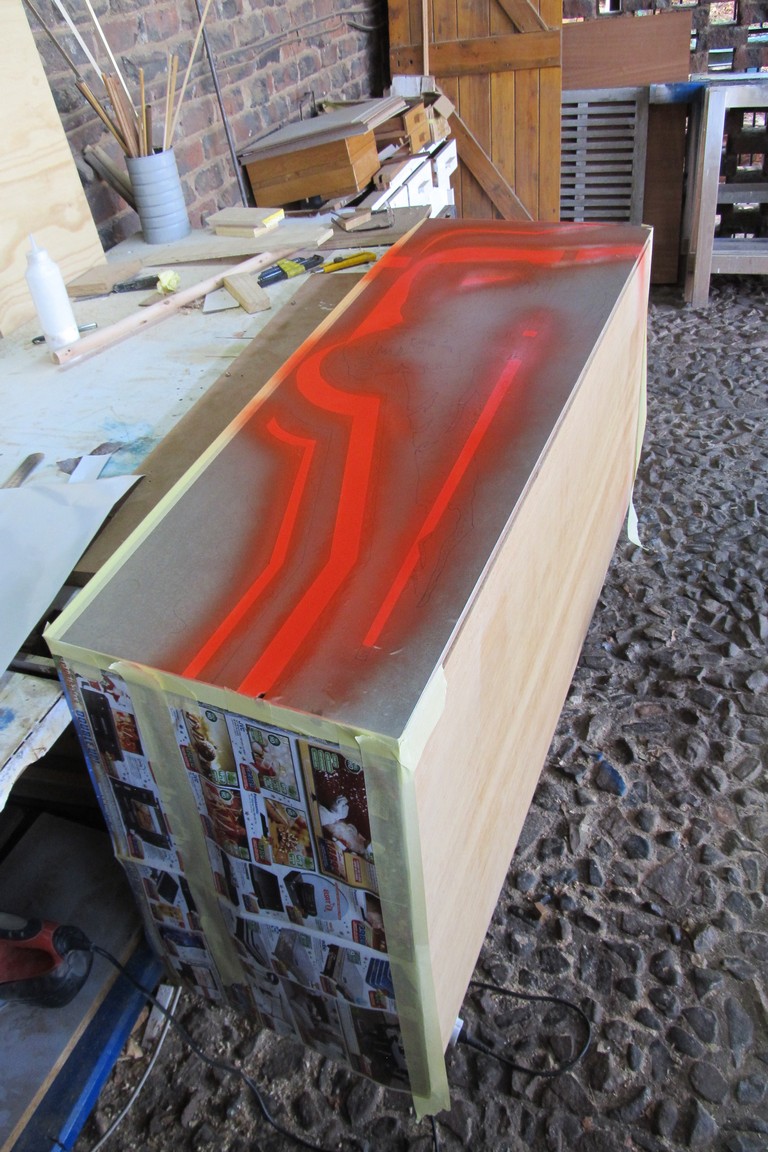
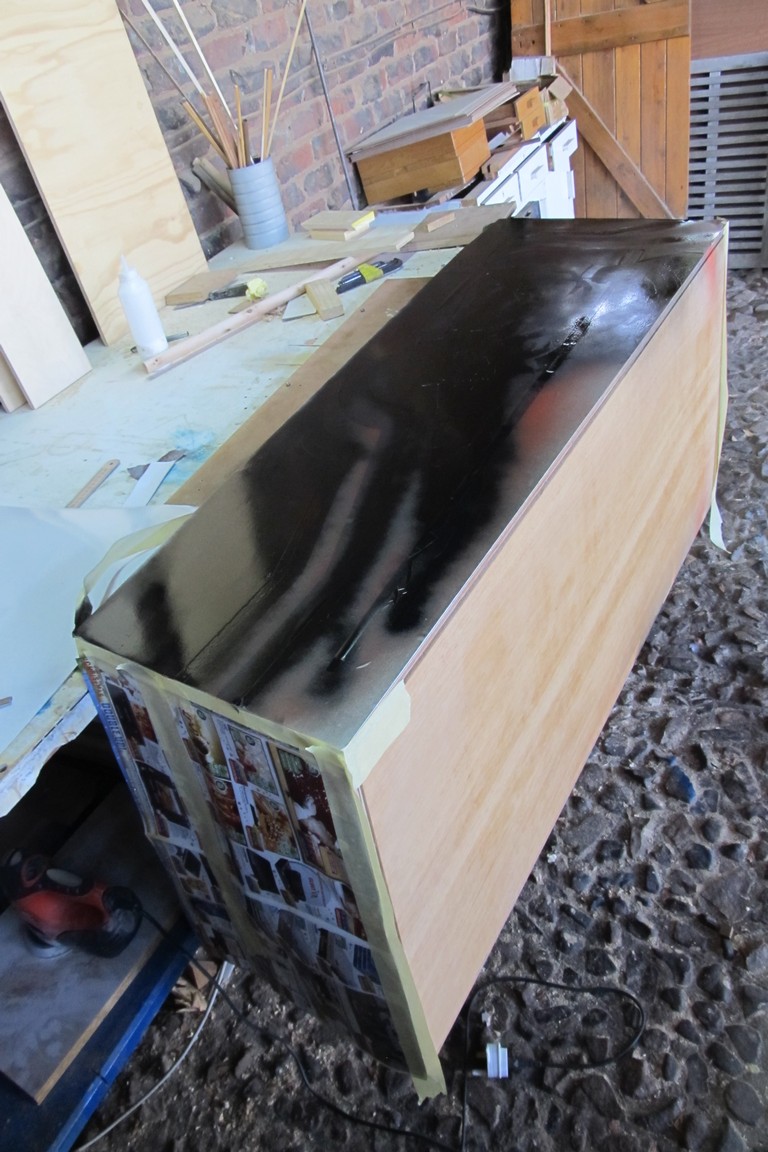
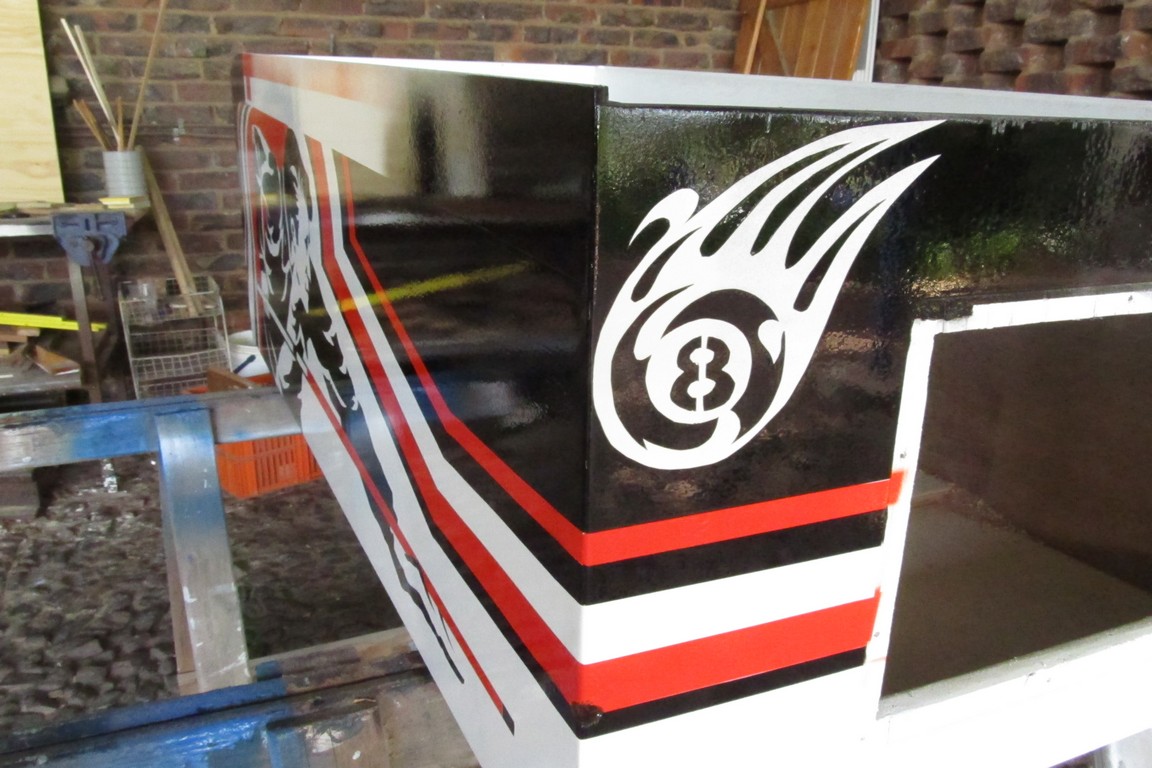
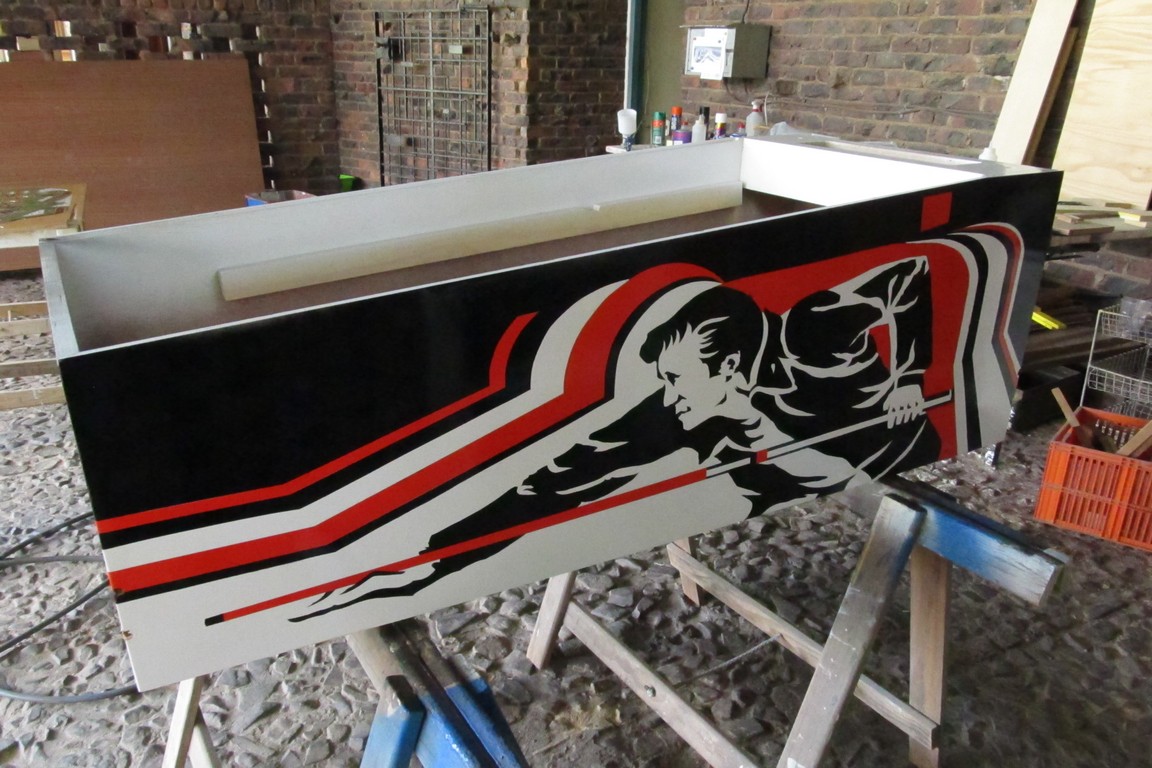
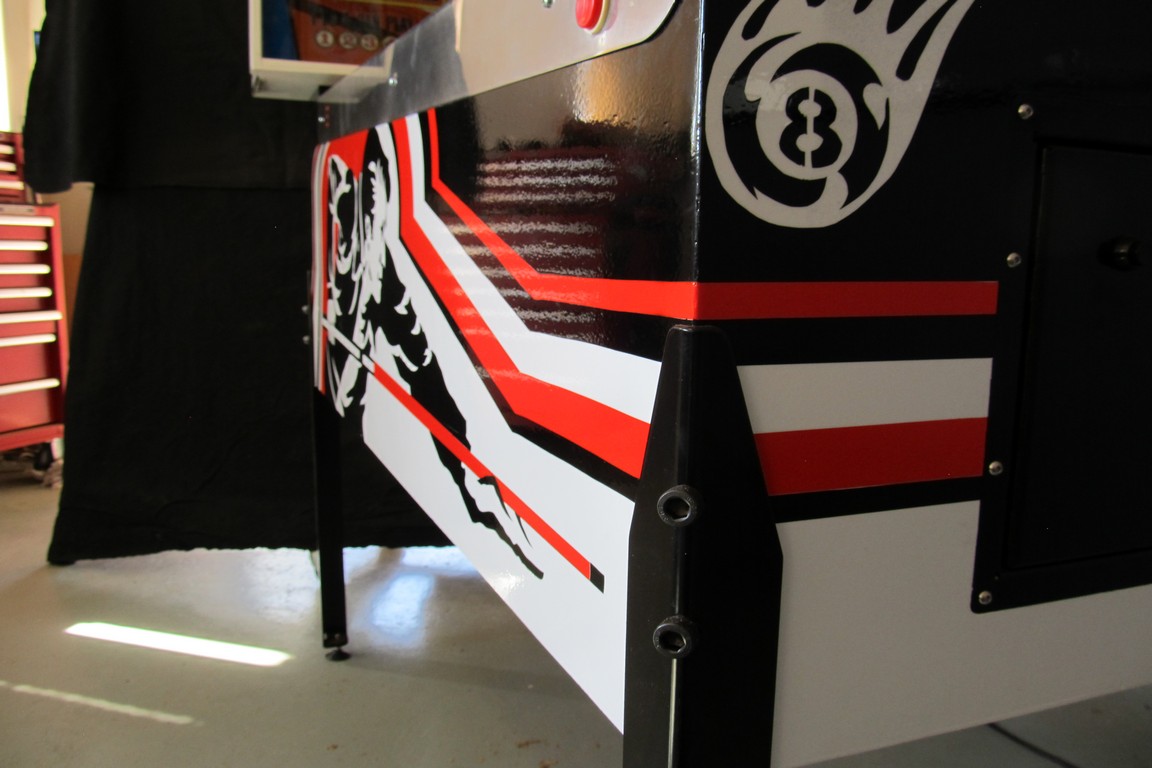
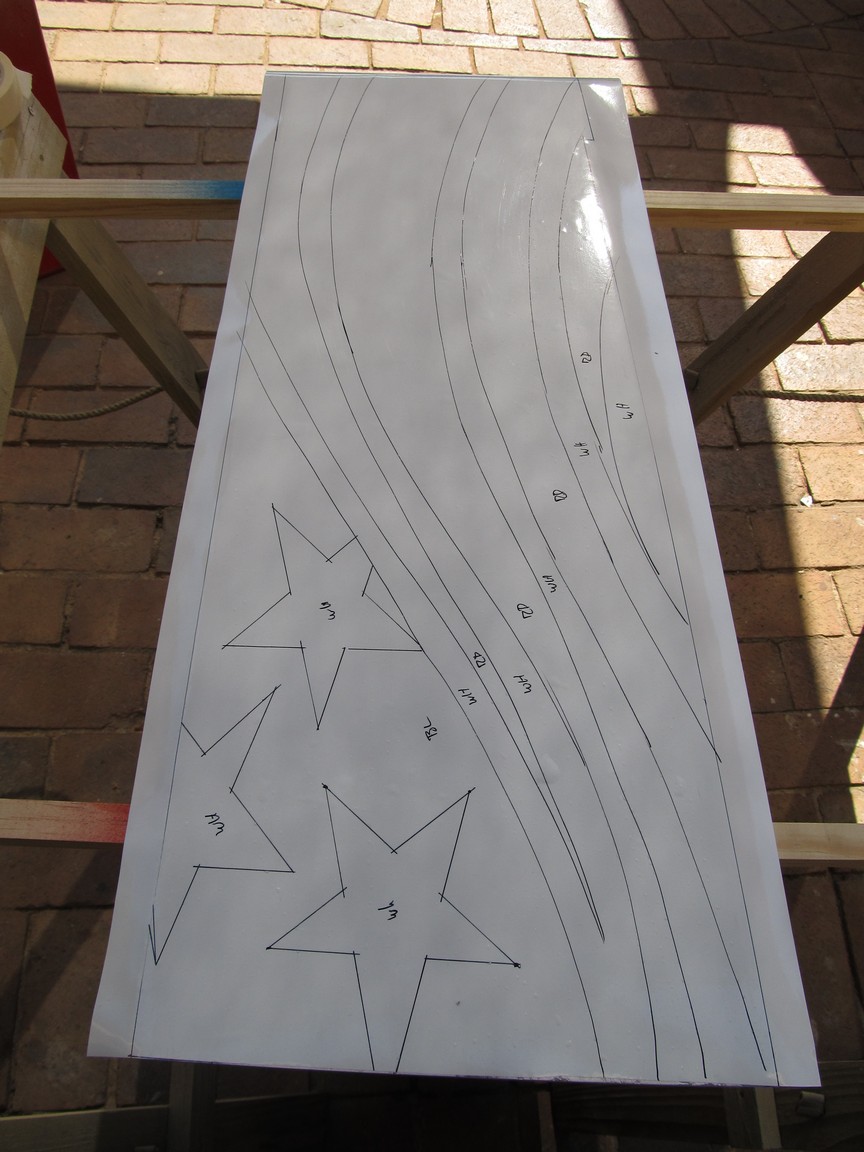
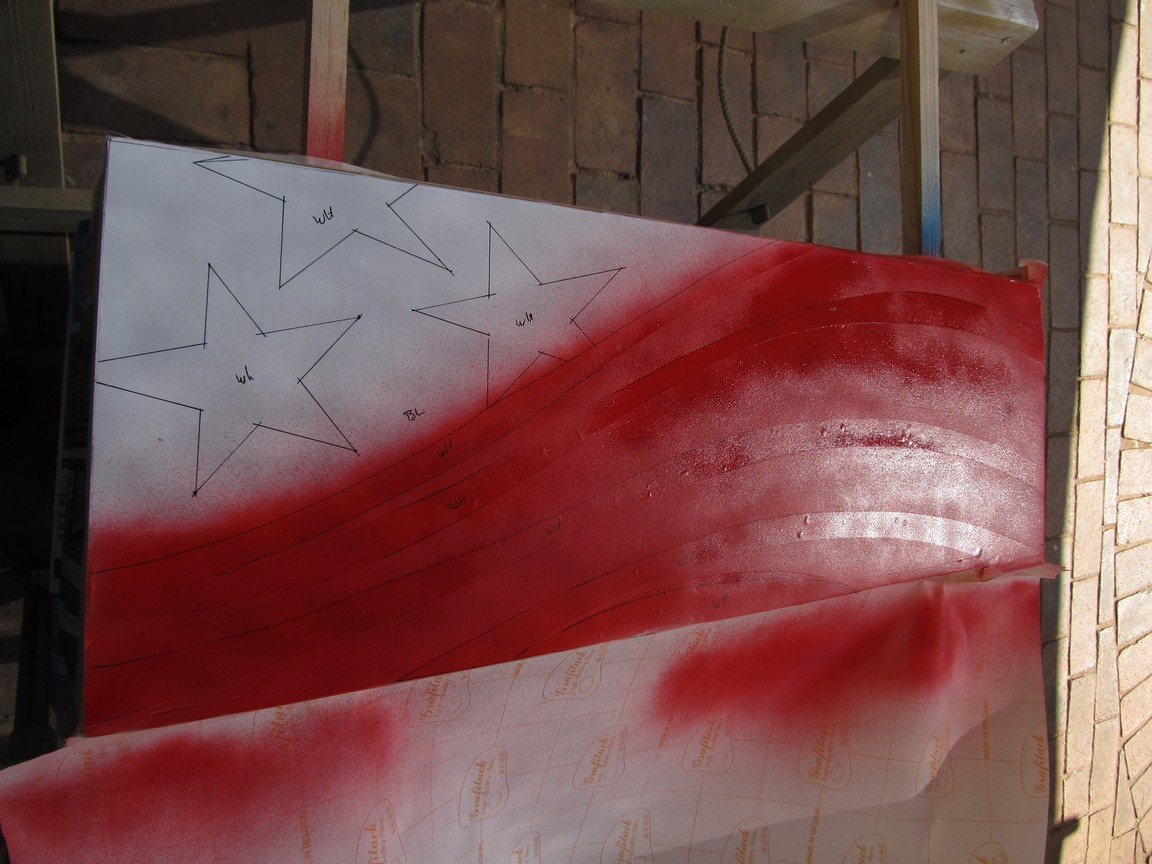
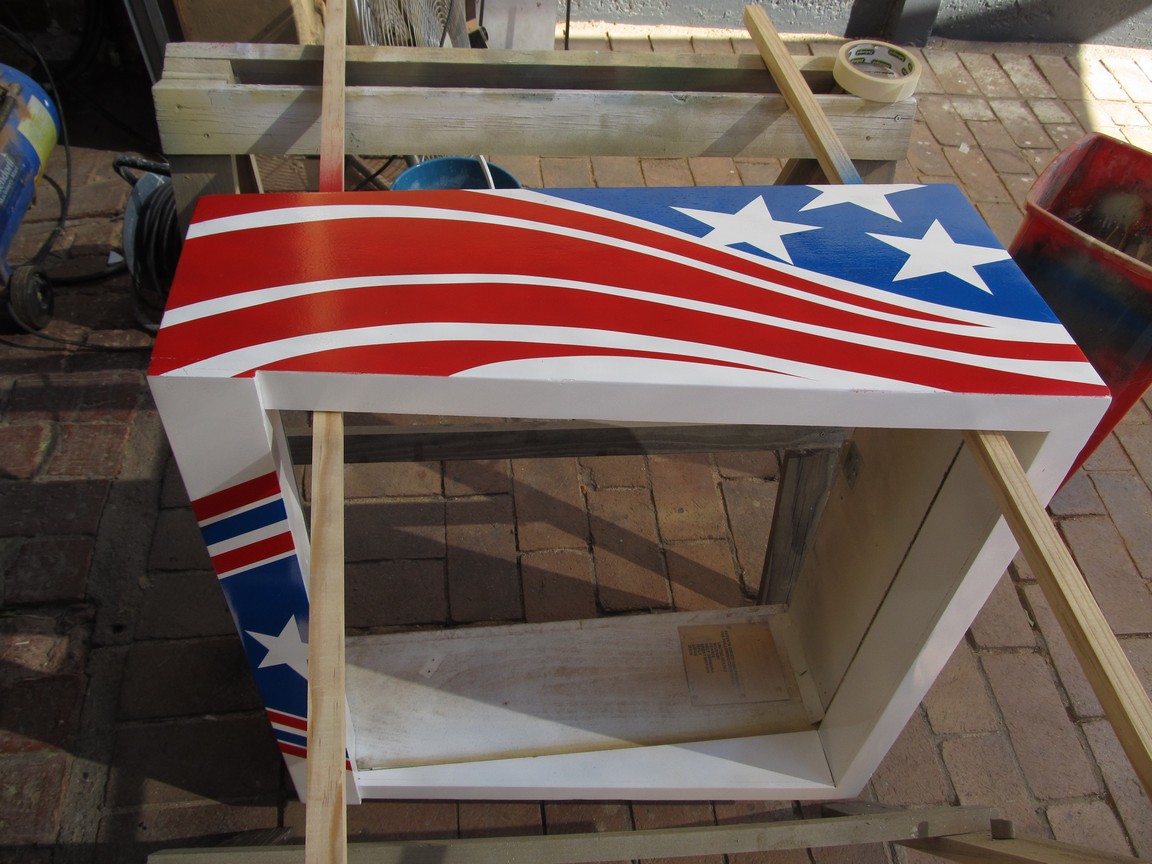
For a cabinet respray, the whole cabinet is stripped out to be prepped for painting. The cabinet is sanded and body filler and primer is applied for a smooth finish. The base coat is sprayed using two part automotive urethane. A stencil is then cut using masking film and progressively masked and cut for successive colours. A 2K clear coat is then sprayed to protect the colour layers. This is a labour intensive excercise but the results speak for themselves.
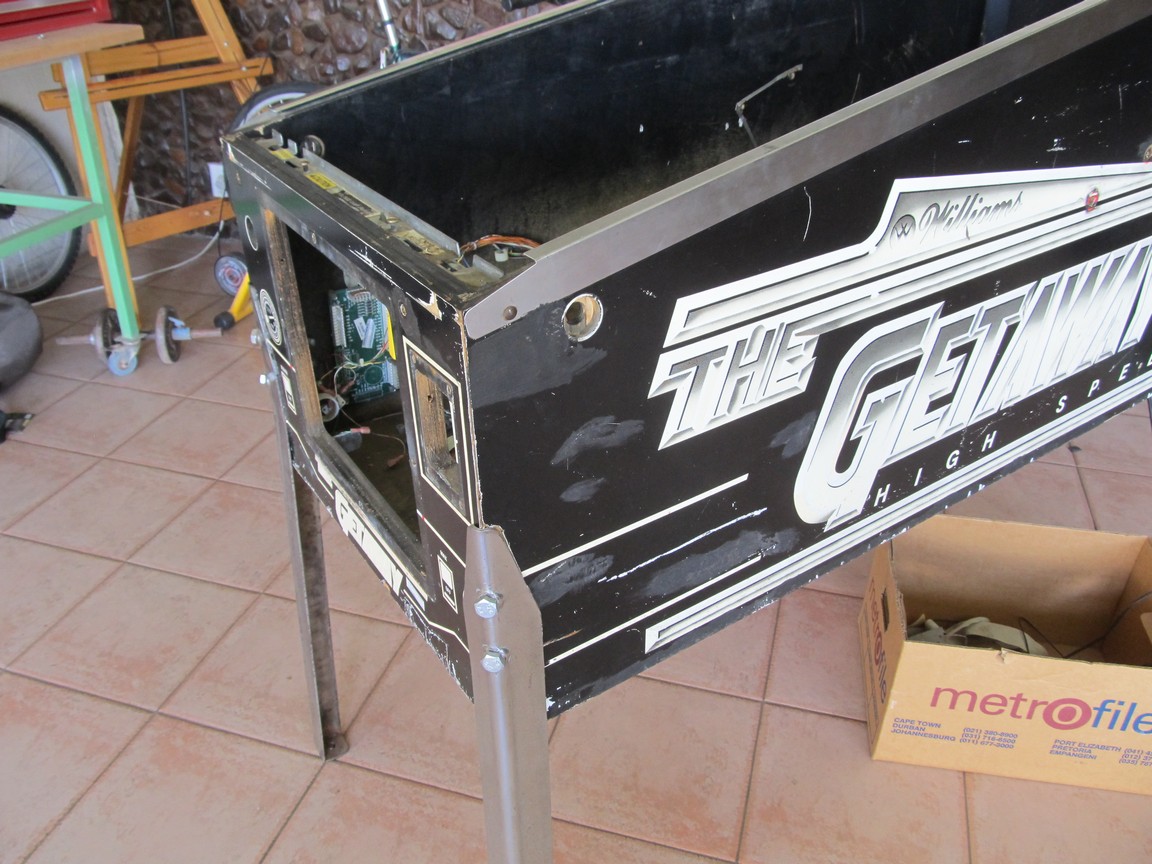
Some restorations will require a new play field or a new back glass. In those cases I will use one of my off the shelf items otherwise I can make a new one if you're willing to pay extra for the hours and donate the old playfield or back glass. See my page on parts to see the play fields, plastics and glasses I have.